Getting Started with Tally Hub
Welcome to Tally Hub! This guide will get you up and running with your professional tally light system in just a few minutes.
📋 Prerequisites
Before getting started, make sure you have:
- Computer: Windows 10+, macOS 10.14+, or Linux
- Network: WiFi network for devices to connect to
- Video Mixer: OBS Studio or vMix (optional for testing)
- Hardware (optional): ESP32 or M5Stick devices for physical tallies
Start with Web Tallies
We recommend starting with web-based tallies using smartphones or tablets before investing in hardware. This lets you test the system and understand the workflow.
🚀 Quick Start (5 Minutes)
Step 1: Download and Install
- Download the latest release
- Extract the ZIP file to your desired location
- Double-click
Start Tally Hub.bat - Wait for the installation to complete
- Download the latest release
- Extract the ZIP file to your Applications folder
- Right-click
Start Tally Hub.commandand select "Open" - Click "Open" when macOS asks about running the script
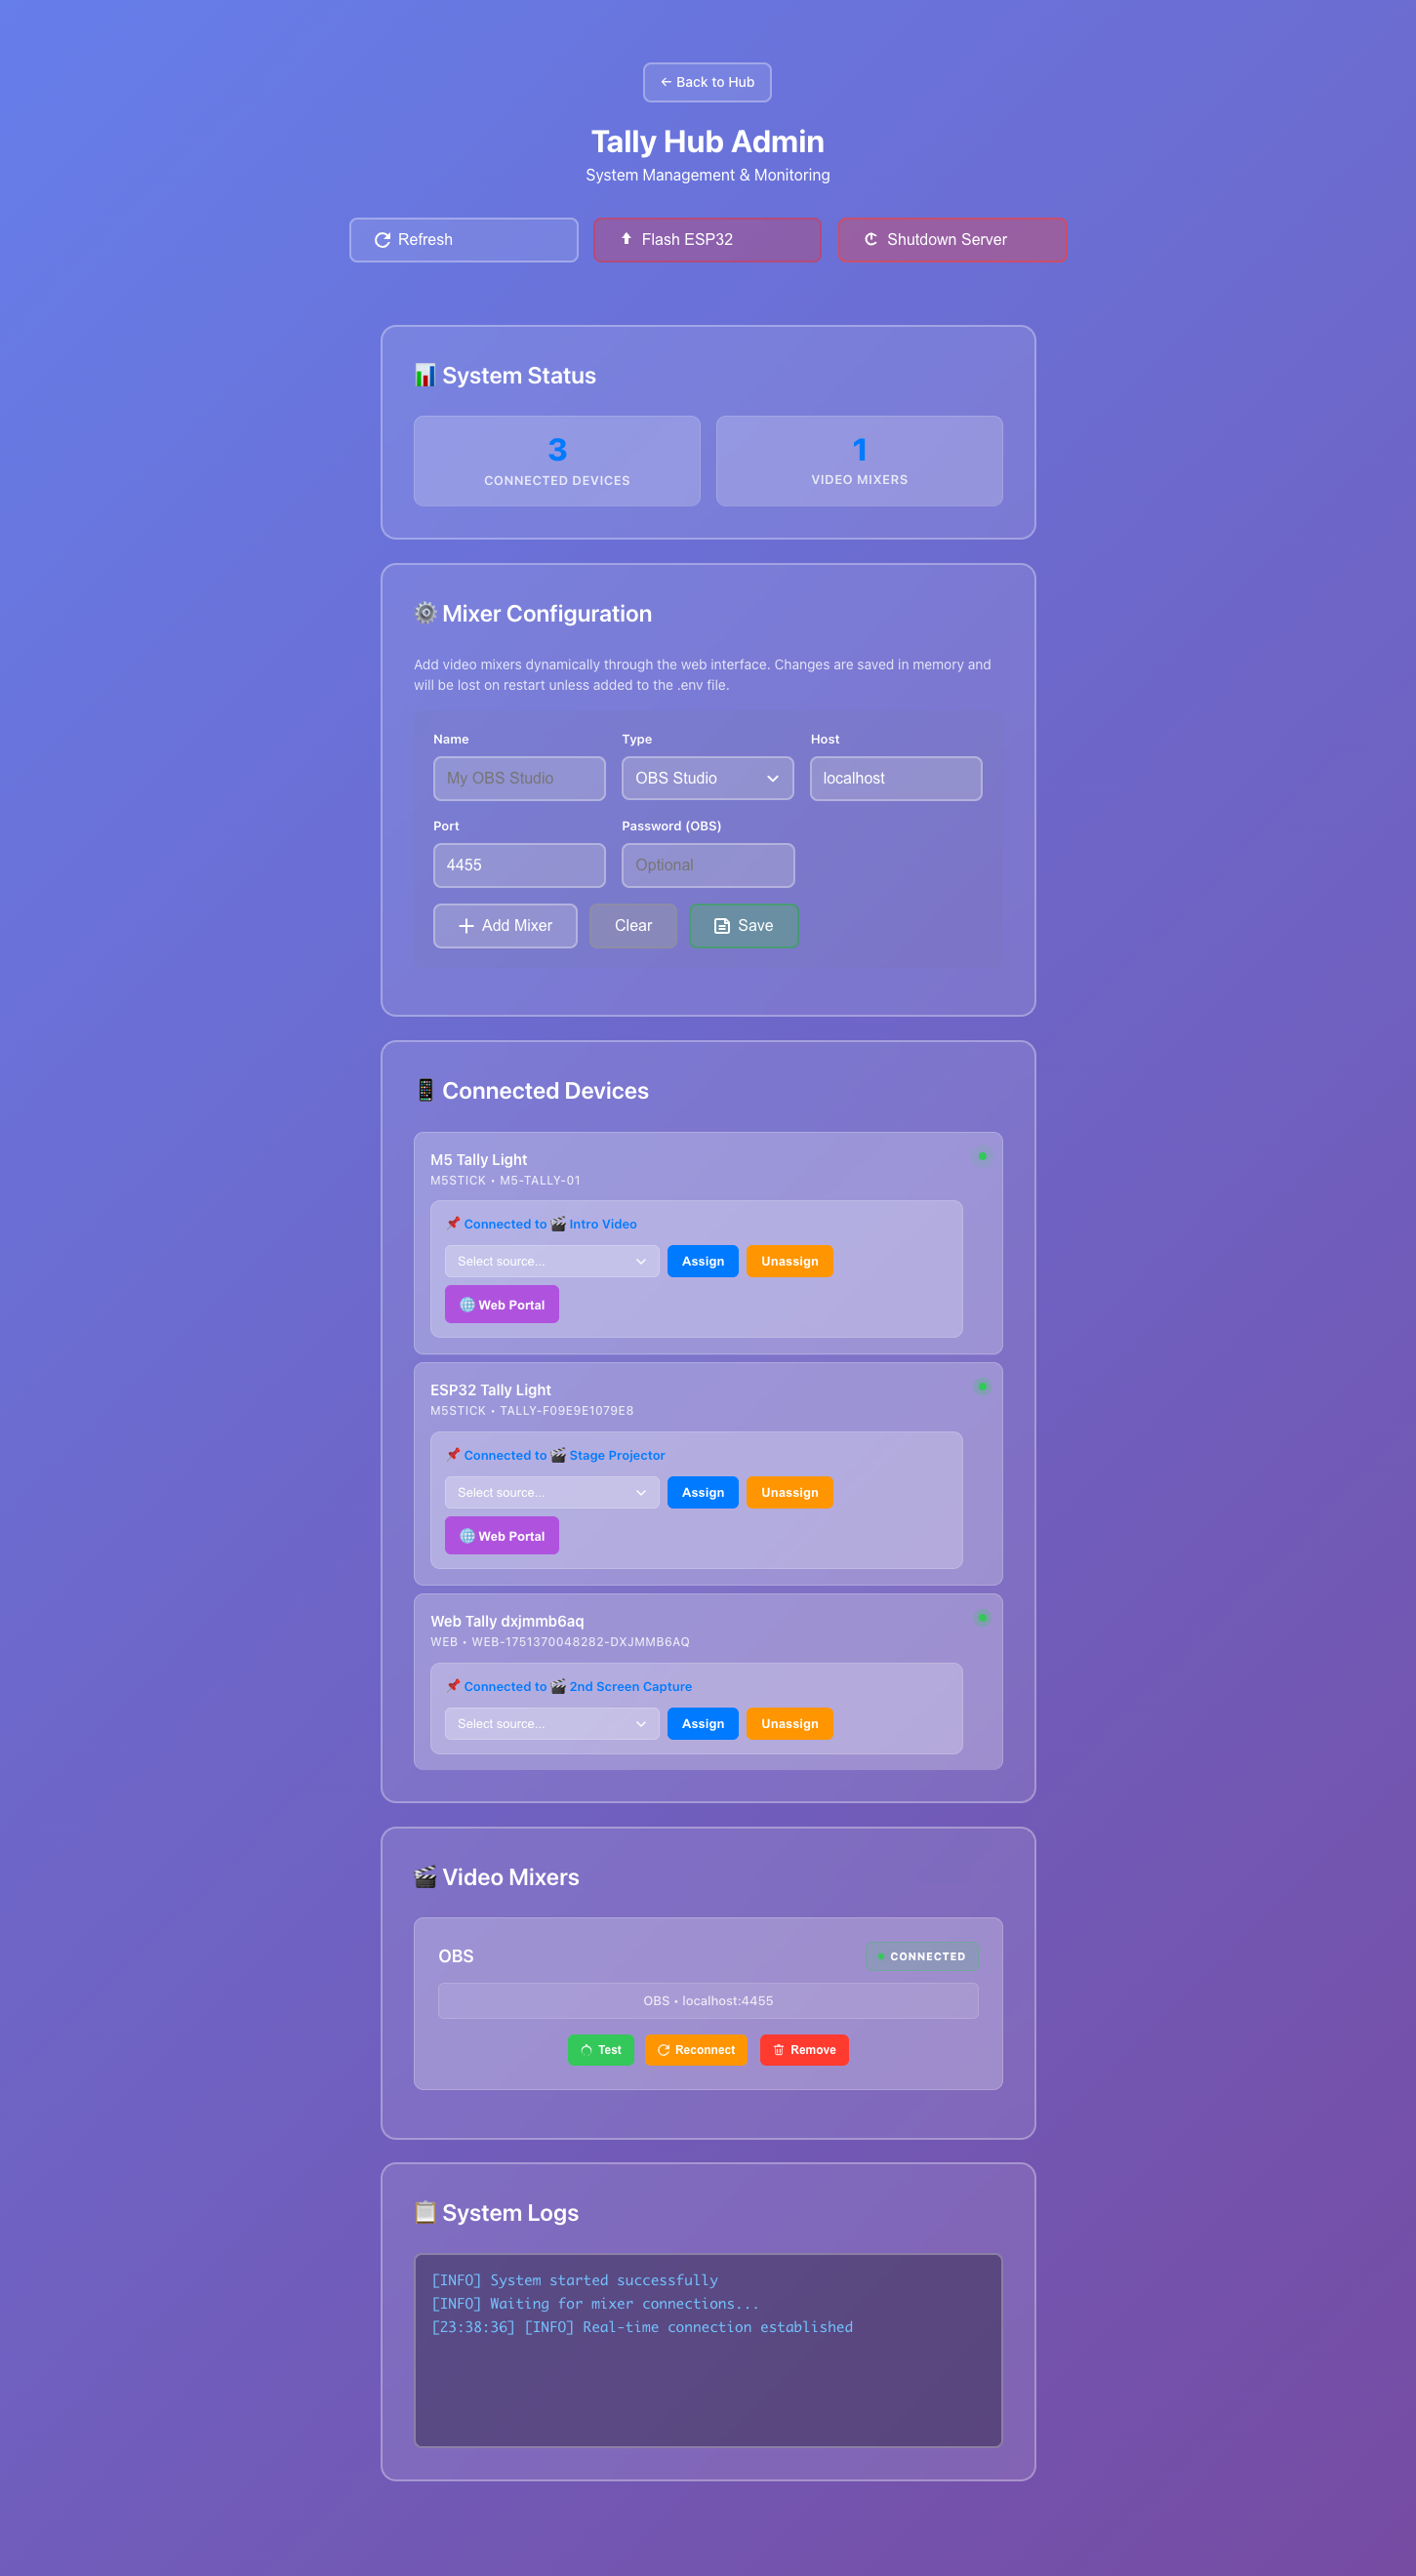
Step 2: Access the Admin Panel
- Open your web browser
- Navigate to http://localhost:3000/admin.html
- You should see the Tally Hub admin interface
Step 3: Test with Web Tally
- Open a new browser tab or use your smartphone
- Navigate to http://[your-computer-ip]:3000/tally.html
- You should see a tally light interface
- Try changing the Program source in the admin panel
- Watch the tally light respond in real-time!
Congratulations!
You now have a working tally system! The web tally will respond to changes in your admin panel in real-time.
🎥 Connect Your Video Mixer
OBS Studio Setup
- Install OBS WebSocket Plugin (if using OBS < 28):
- Download from obsproject.com
-
Install and restart OBS
-
Configure WebSocket in OBS:
- Go to Tools → WebSocket Server Settings
- Enable Enable WebSocket server
- Set port to 4444 (default)
-
Set password (optional but recommended)
-
Connect in Tally Hub:
- Open the admin panel
- Go to Video Mixers section
- Enter your OBS WebSocket details:
- Host:
localhost(if OBS is on same computer) - Port:
4444 - Password: (if you set one)
- Host:
- Click Connect
vMix Setup
- Enable vMix API:
- In vMix, go to Settings → Web Controller
- Enable Enable Web Controller
-
Note the port number (usually 8088)
-
Connect in Tally Hub:
- Open the admin panel
- Go to Video Mixers section
- Select vMix as mixer type
- Enter vMix details:
- Host:
localhost(if vMix is on same computer) - Port:
8088(or your configured port)
- Host:
- Click Connect
📱 Add Hardware Devices
ESP32 Device Setup
- Purchase Hardware:
- ESP32-1732S019: Available from AliExpress, Amazon (~$15)
-
M5Stick C Plus: Available from M5Stack, Amazon (~$25)
-
Flash Firmware:
- Connect ESP32 to your computer via USB
- In the admin panel, click Flash ESP32 Firmware
- Select your device from the list
-
Click Flash and wait for completion
-
Configure WiFi:
- After flashing, the device will create a WiFi hotspot
- Connect to the
TallyHub-Setupnetwork - Open a browser and configure your WiFi credentials
-
The device will restart and connect to your network
-
Assign to Source:
- The device should appear in your admin panel automatically
- Drag and drop it to assign to a video source
- The device will immediately show the correct tally state
M5Stick Setup
The process is identical to ESP32, but M5Stick devices offer: - Better display quality - Built-in battery for wireless operation - More professional appearance - Easier mounting options
🔧 Configuration
Device Assignment
- Automatic Discovery: Devices appear automatically when they connect
- Drag and Drop: Simply drag devices to assign them to sources
- Multiple Assignment: Multiple devices can be assigned to the same source
- Persistent Storage: Assignments are saved across restarts
Network Configuration
For best performance:
- Use 5GHz WiFi when possible for lower latency
- Static IP assignment for critical devices (optional)
- Quality of Service (QoS) prioritization for tally traffic
- Separate VLAN for production equipment (advanced)
Advanced Settings
Access advanced configuration via the Settings page:
- Update intervals: Adjust polling frequency
- Device timeouts: Configure disconnection detection
- Logging levels: Enable detailed diagnostics
- API settings: Configure external integrations
🛠️ Troubleshooting
Common Issues
Devices Not Connecting
- Check WiFi credentials - ensure devices are on same network
- Firewall settings - allow ports 3000 (HTTP) and 9999 (UDP)
- Network discovery - ensure multicast is enabled on your network
Slow Tally Updates
- Network congestion - check WiFi utilization
- Interference - try different WiFi channels
- Distance - ensure devices have good signal strength
Video Mixer Not Connecting
- Port conflicts - ensure mixer ports are available
- Authentication - verify credentials are correct
- Network accessibility - test connection from other tools
Advanced Diagnostics
Enable detailed logging in the admin panel:
- Go to Settings → Logging
- Set level to Debug
- Reproduce the issue
- Check logs in the Logs section
📚 Next Steps
Now that you have Tally Hub running:
- Explore Features - Learn about all capabilities
- Hardware Guide - Dive deeper into device options
- Admin Panel Guide - Master the interface
- API Documentation - Integrate with other systems
- Join the Community - Get help and share tips
🤝 Need Help?
- Troubleshooting Guide - Common solutions
- GitHub Issues - Report bugs
- Community Discussions - Ask questions
- Wiki - Community guides
Congratulations! You're now ready to use Tally Hub in your production environment. The system is designed to be reliable and professional-grade, so you can focus on creating great content while Tally Hub handles the technical details.